from django.contrib.auth.models import User, Group from rest_framework import viewsets from tutorial.quickstart.serializers import UserSerializer, GroupSerializer
classUserViewSet(viewsets.ModelViewSet): """ API endpoint that allows users to be viewed or edited. """ queryset = User.objects.all().order_by('-date_joined') serializer_class = UserSerializer
classGroupViewSet(viewsets.ModelViewSet): """ API endpoint that allows groups to be viewed or edited. """ queryset = Group.objects.all() serializer_class = GroupSerializer
URLs
url(tutorial/urls.py)を定義。
1
2
3
4
5
6
7
8
9
10
11
12
13
14
from django.urls import include, path from rest_framework import routers from tutorial.quickstart import views
# Wire up our API using automatic URL routing. # Additionally, we include login URLs for the browsable API. urlpatterns = [ path('', include(router.urls)), path('api-auth/', include('rest_framework.urls', namespace='rest_framework')) ]
Pagination
settings(tutorial/settings.py)をカスタマイズ。
SECRET_KEYを環境変数で定義する
INSTALL_APPSでrest_frameworkを追加する
Pagenation(次のページ)を有効化する
1
2
3
4
5
6
7
8
9
10
11
12
13
14
15
16
17
18
19
# SECURITY WARNING: keep the secret key used in production secret! SECRET_KEY = os.environ['SECRET_KEY']
All sessions if you are using any other session backend than django.contrib.sessions.backends.cache, or are using the default get_session_auth_hash().
All messages if you are using CookieStorage or FallbackStorage.
All PasswordResetView tokens.
Any usage of cryptographic signing, unless a different key is provided.
If you rotate your secret key, all of the above will be invalidated. Secret keys are not used for passwords of users and key rotation will not affect them.
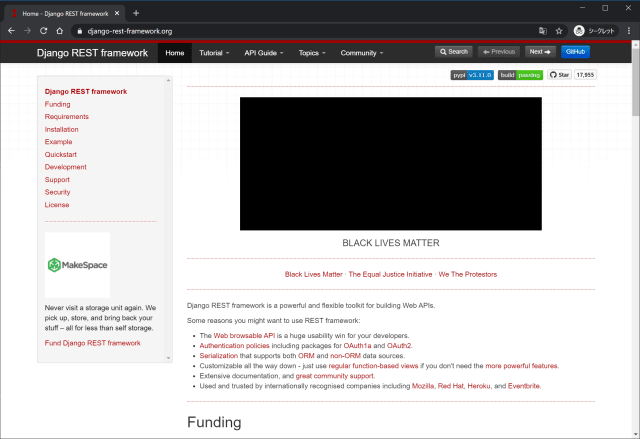
The Web browsable API is a huge usability win for your developers.
Authentication policies including packages for OAuth1a and OAuth2.
Serialization that supports both ORM and non-ORM data sources.
Customizable all the way down - just use regular function-based views if you don’t need the more powerful features.
Extensive documentation, and great community support.
Used and trusted by internationally recognised companies including Mozilla, Red Hat, Heroku, and Eventbrite.
Webブラウジング可能なAPIによるユーザビリティ
OAuth1aとOuth2のための認証ポリシーを含む
ORMとnon-ORMの各データソースのシリアライズをサポート
端から端までカスタマイズ可能
広範囲のドキュメントとコミュニティサポート
さまざまな国際的企業で利用されている
BLACK LIVES MATTERやってる(2020/6/18)
Requirements
REST framework requires the following:
Python (3.5, 3.6, 3.7, 3.8) Django (1.11, 2.0, 2.1, 2.2, 3.0) We highly recommend and only officially support the latest patch release of each Python and Django series.
The following packages are optional:
coreapi (1.32.0+) - Schema generation support. Markdown (3.0.0+) - Markdown support for the browsable API. Pygments (2.4.0+) - Add syntax highlighting to Markdown processing. django-filter (1.0.1+) - Filtering support. django-guardian (1.1.1+) - Object level permissions support.
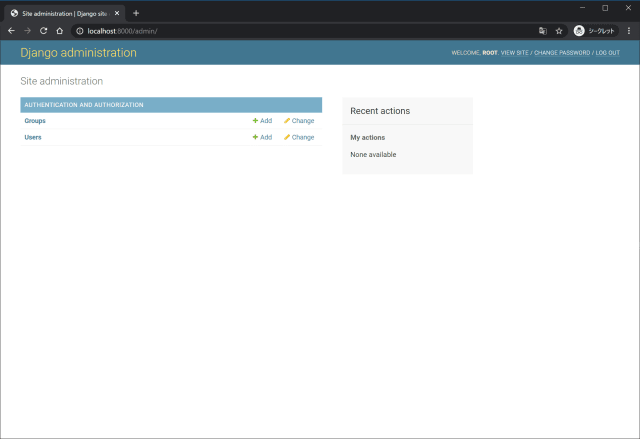
$ ./manage.py migrate Operations to perform: Apply all migrations: admin, auth, contenttypes, sessions Running migrations: Applying contenttypes.0001_initial... OK Applying auth.0001_initial... OK Applying admin.0001_initial... OK Applying admin.0002_logentry_remove_auto_add... OK Applying admin.0003_logentry_add_action_flag_choices... OK Applying contenttypes.0002_remove_content_type_name... OK Applying auth.0002_alter_permission_name_max_length... OK Applying auth.0003_alter_user_email_max_length... OK Applying auth.0004_alter_user_username_opts... OK Applying auth.0005_alter_user_last_login_null... OK Applying auth.0006_require_contenttypes_0002... OK Applying auth.0007_alter_validators_add_error_messages... OK Applying auth.0008_alter_user_username_max_length... OK Applying auth.0009_alter_user_last_name_max_length... OK Applying auth.0010_alter_group_name_max_length... OK Applying auth.0011_update_proxy_permissions... OK Applying sessions.0001_initial... OK $ ./manage.py createsuperuser Username (leave blank to use 'root'): Email address: Password: ******** Password (again): ******** Superuser created successfully.
from django.urls import path, include from django.contrib.auth.models import User from rest_framework import serializers, viewsets, routers
# Serializers define the API representation. classUserSerializer(serializers.HyperlinkedModelSerializer): classMeta: model = User fields = ['url', 'username', 'email', 'is_staff']
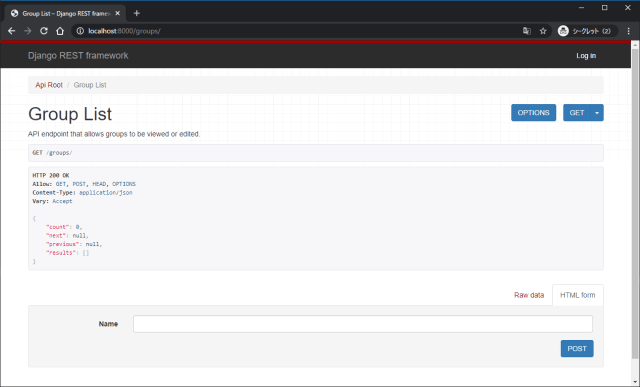
# Routers provide a way of automatically determining the URL conf. router = routers.DefaultRouter() router.register(r'users', UserViewSet)
# Wire up our API using automatic URL routing. # Additionally, we include login URLs for the browsable API. urlpatterns = [ path('', include(router.urls)), path('api-auth/', include('rest_framework.urls', namespace='rest_framework')) ]
APIのテスト
1 2 3 4 5 6 7 8 9 10 11
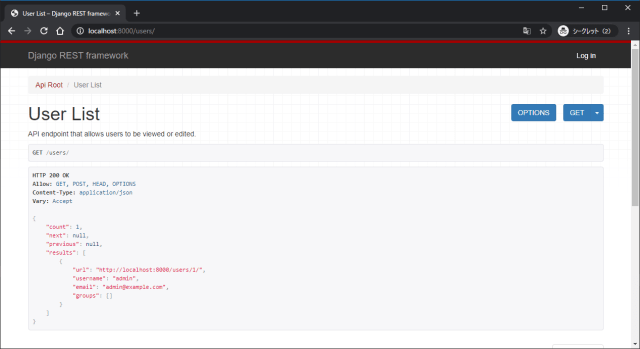
$ ./manage.py runserver
Watching for file changes with StatReloader
Performing system checks...

System check identified no issues (0 silenced).
June 17, 2020 - 15:50:19
Django version 3.0.7, using settings 'example.settings'
Starting development server at http://127.0.0.1:8000/
Quit the server with CONTROL-C.
[17/Jun/2020 15:50:42] "GET / HTTP/1.1" 200 47
[17/Jun/2020 15:50:49] "GET /users/ HTTP/1.1" 200 138
from django.urls import path, include from django.contrib.auth.models import User from rest_framework import serializers, viewsets, routers
…中略…
# Wire up our API using automatic URL routing. # Additionally, we include login URLs for the browsable API. urlpatterns = [ path('admin/', admin.site.urls), path('', include(router.urls)), path('api-auth/', include('rest_framework.urls', namespace='rest_framework')) ]
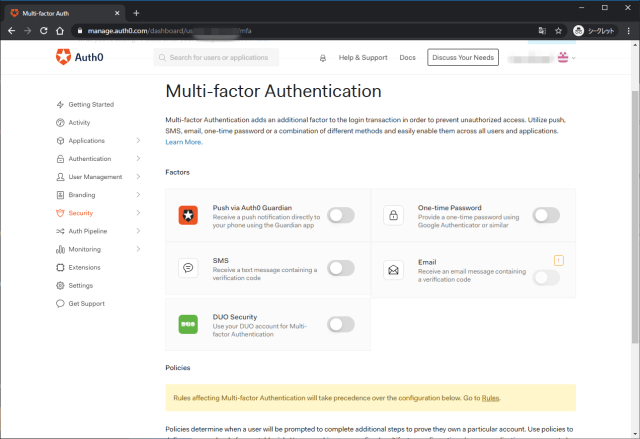
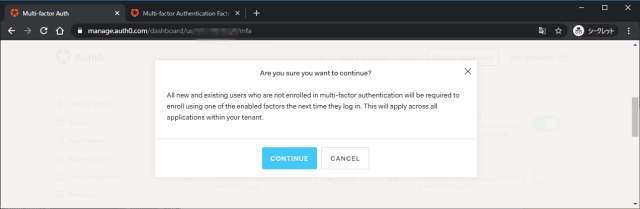
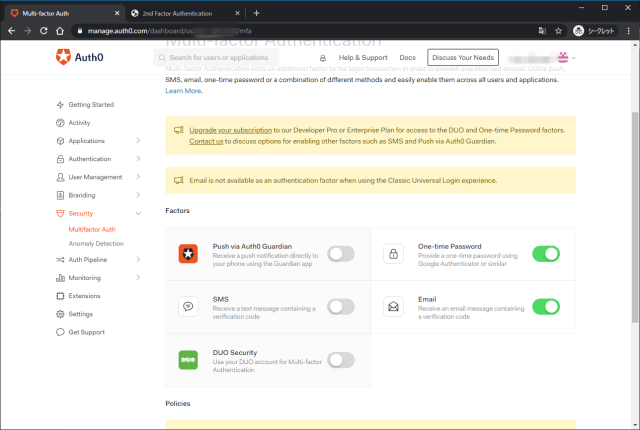
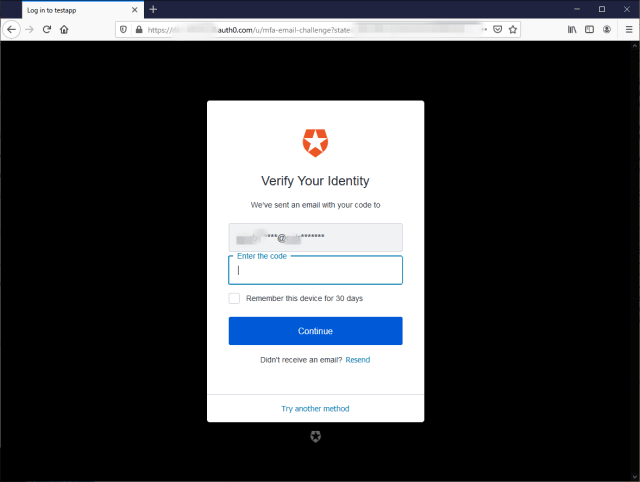
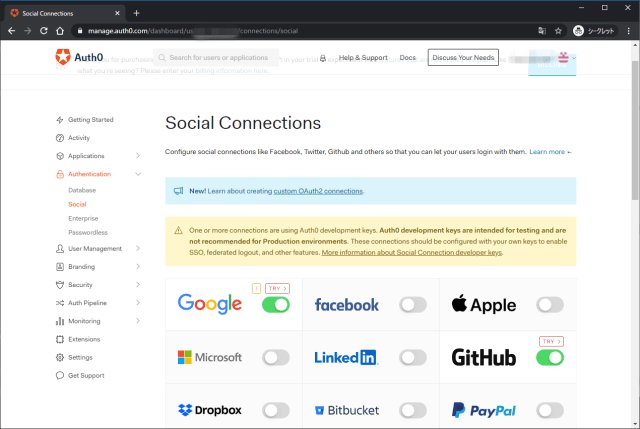
もうひとつの要素としてEmailを有効化。Email is not available as an authentication factor when using the Classic Universal Login experienceという警告が表示されており、デフォルトのClassic Universla Loginでは利用できない。
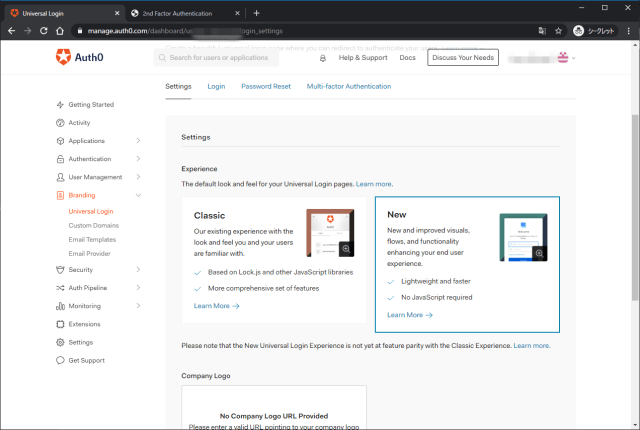
Branding -> Universla LoginをClassicからNewに変更する。
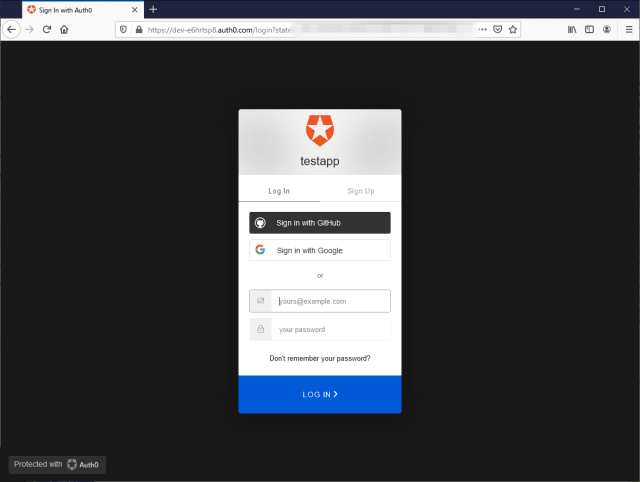
ログイン画面が赤基調から青基調に変わっている。
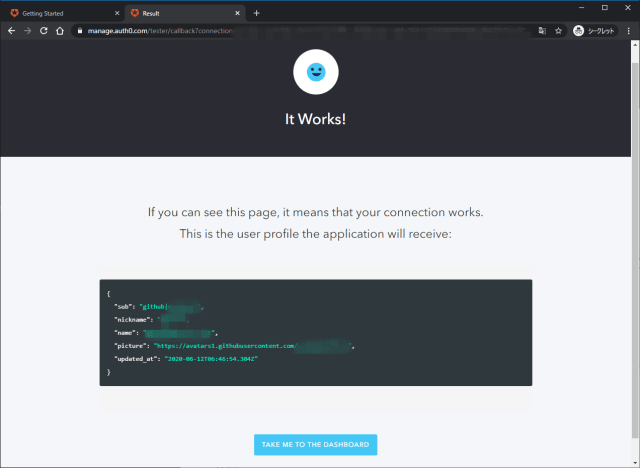
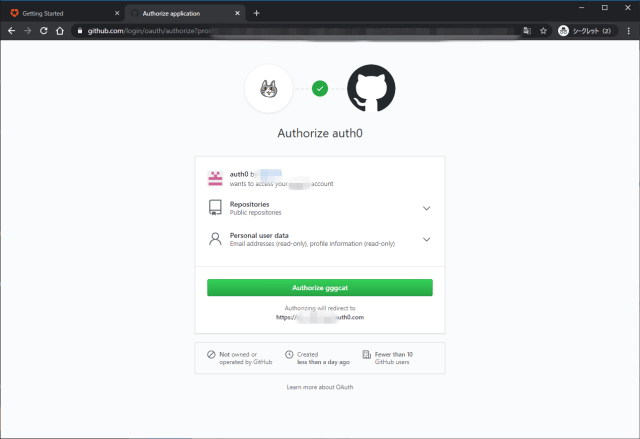
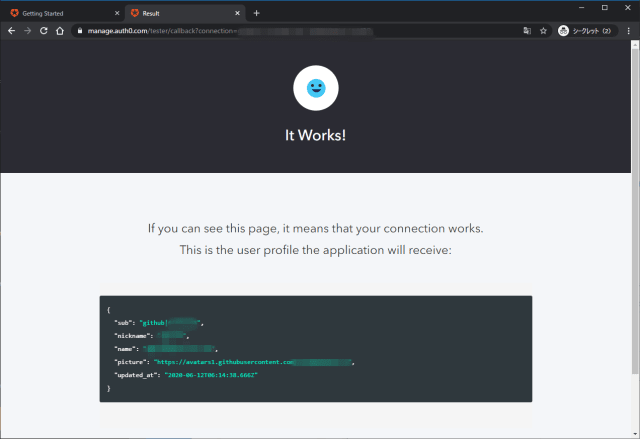
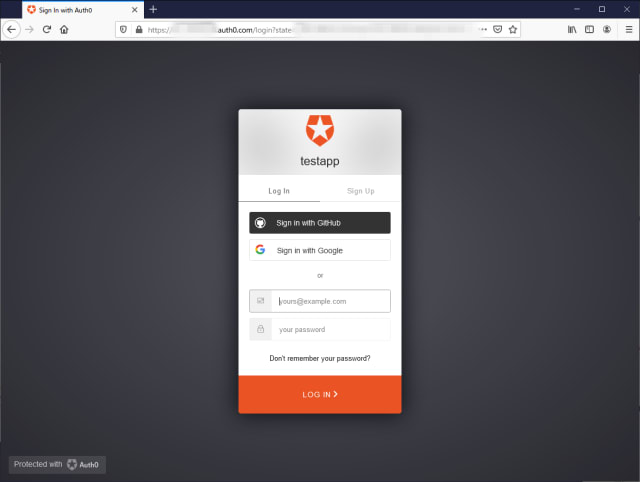
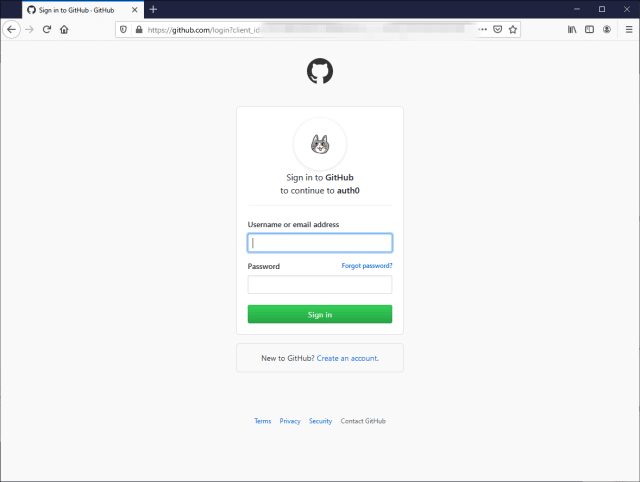
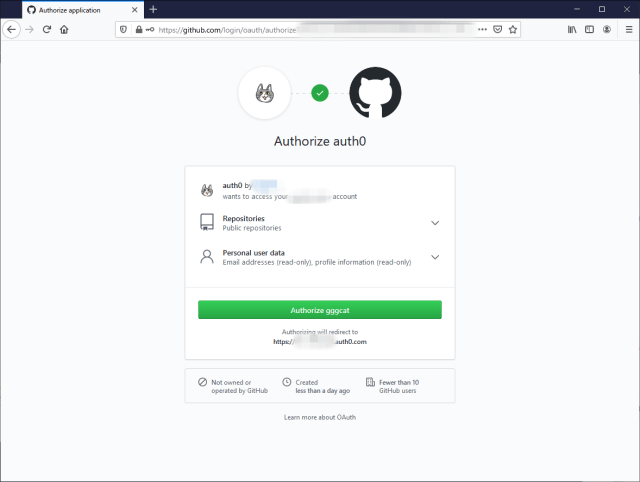
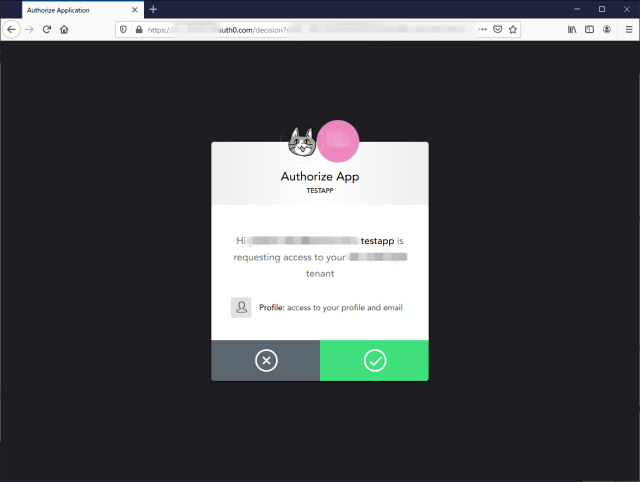
GitHubアカウントでログイン。
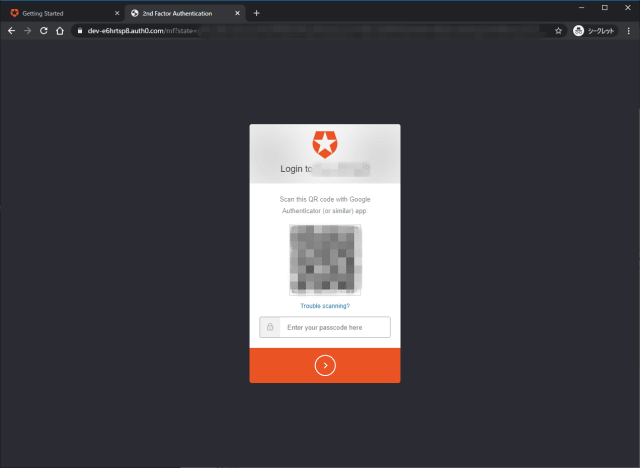
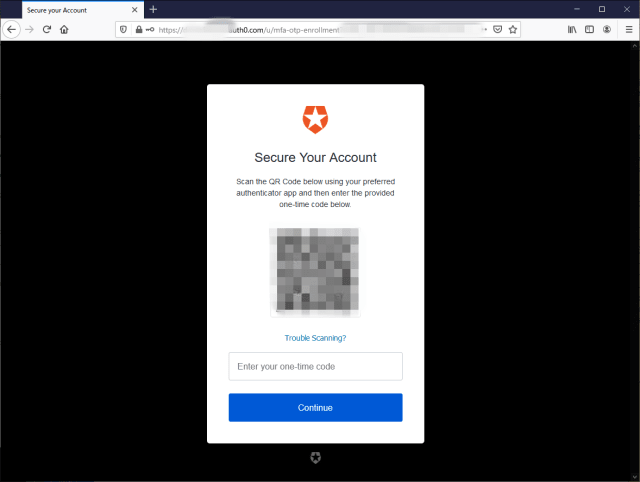
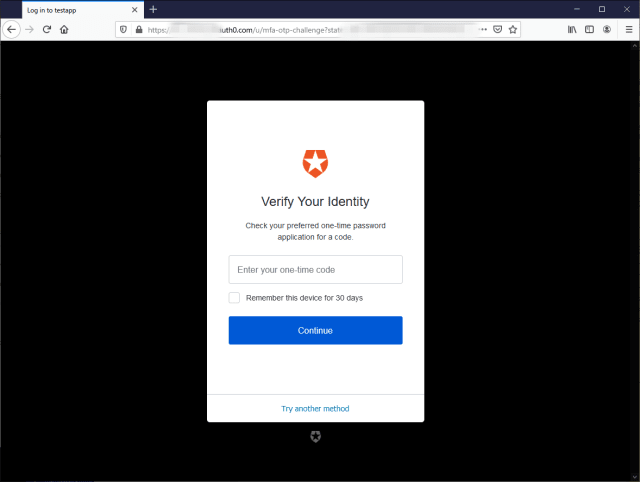
One-time Passwordの登録が優先されている。
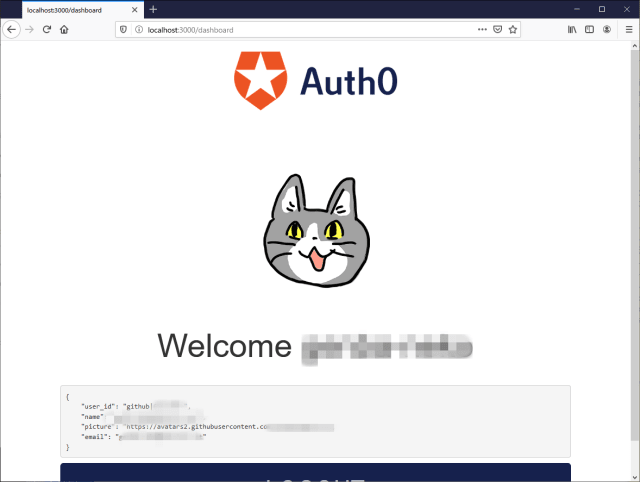
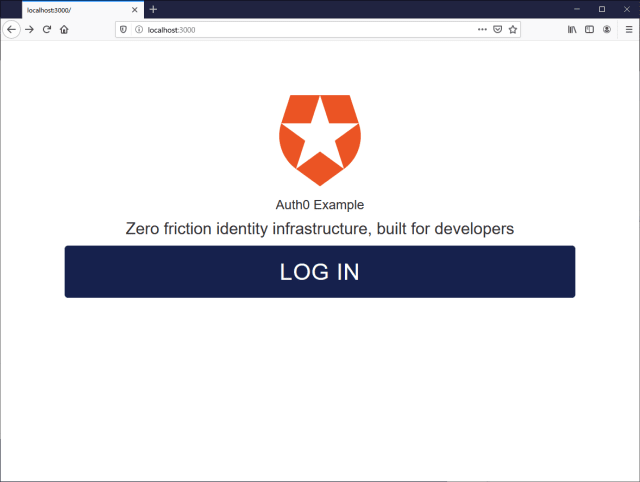
ログイン。
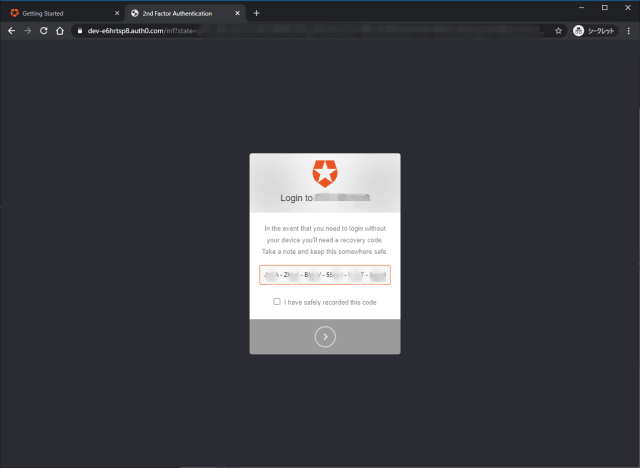
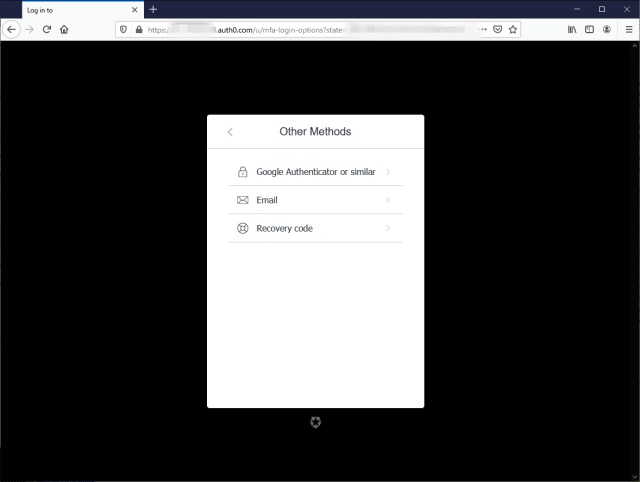
改めて再ログインを試みる。登録したOne-time Passwordの入力を促されるが、最下部のTry another methodを選択。
Python Social Auth is an easy to setup social authentication/registration mechanism with support for several frameworks and auth providers. This is the Django component of the python-social-auth ecosystem, it implements the needed functionality to integrate social-auth-core in a Django based project.
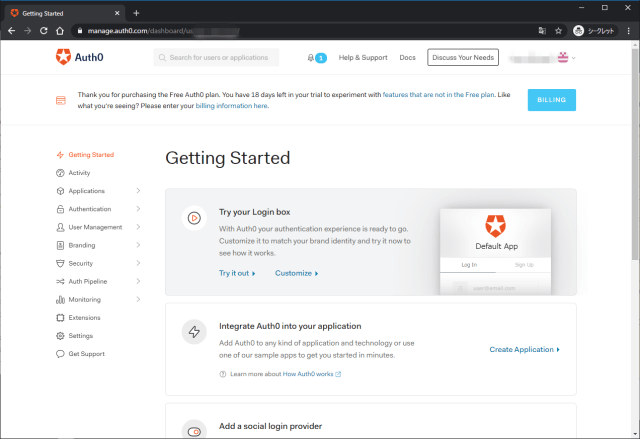
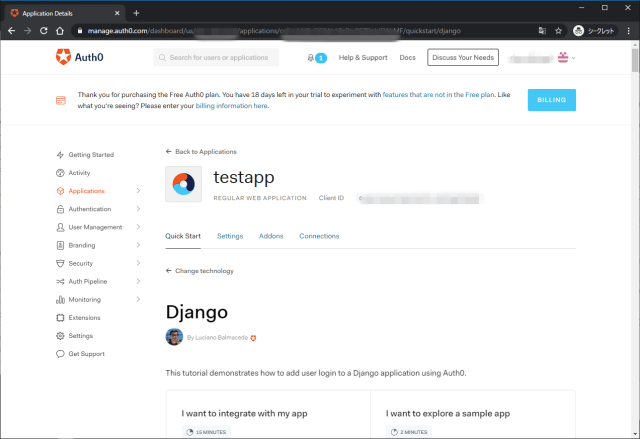
When you signed up for Auth0, a new application was created for you, or you could have created a new one.
新しアプリケーションを作成すると、以下が発行されるので、Settingsから取得する。
Domain
Client ID
Client Secret
Configure Callback URLs
A callback URL is a URL in your application where Auth0 redirects the user after they have authenticated. The callback URL for your app must be whitelisted in the Allowed Callback URLs field in your Application Settings. If this field is not set, users will be unable to log in to the application and will get an error.
認証後のリダイレクト先。Settingsでホワイトリスト登録する必要がある。
Configure Logout URLs
A logout URL is a URL in your application that Auth0 can return to after the user has been logged out of the authorization server. This is specified in the returnTo query parameter. The logout URL for your app must be whitelisted in the Allowed Logout URLs field in your Application Settings. If this field is not set, users will be unable to log out from the application and will get an error.
#If we add the requirements and install dependencies first, docker can use cache if requirements don't change ADD requirements.txt /home/app RUN pip install --no-cache-dir -r requirements.txt
ADD . /home/app
# Migrate the database RUN python manage.py migrate