Atuh0でソーシャルログインする
Auth0はさまざまなソーシャルログイン連携をSocial Connectionsとして提供している。
これを有効化するだけで、ソーシャルログイン機能を利用することができる。
Authentication -> Socialから連携するサービスをONにする。デフォルトでGoogleが有効になっている。

連携先としてGitHubを追加する。GitHubを選択すると、連携に関する設定が表示される。連携のためには各プロバイダー(Social Identity Providers)のクライアントID(Client ID)とシークレット(Client Secret)が必要だが、テストの場合指定しなくても使用することができる。

Attributesとして取得する属性の値を選択する。

ここではEmail Addressとread userを選択した。

Social Connectionsはアプリケーション毎に有効化するかどうかを選択できる。
デフォルトのDefault Appとチュートリアルで作成したtestappが表示されている。

ソーシャルログインのテスト1
Default Appからログインする。画面にSign in with GitHubが現れている。

Auth0自身にGitHubアカウントでログインしているので、認証プロセスは省略され、Auth0に対する認可の確認画面が表示される。Email addresses (read-only)とprofile information (read-only)を許可するかどうかが問われる。

Authrorize auth0を選択するとログイン後のページが表示される。

ソーシャルログインのテスト2
testappからログインする。

同じGitHubユーザで一度ログインしているのでAuth0に対する認可画面はない。

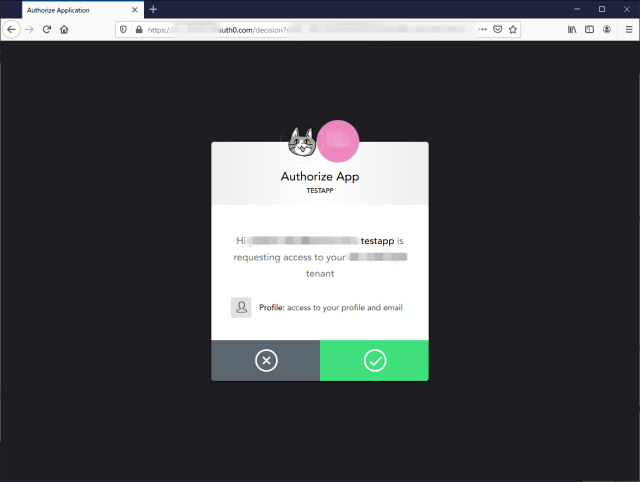
アプリに対する認可の画面が表示される。

認可するとログイン後のページが表示される。

Client IDとClient Secretを取得する
ログインできることを確認できたので、GitHubのクライアントID(Client ID)とシークレット(Client Secret)を取得する。
Client IDとClient Secretの発行で必要になるドメイン名を確認する。Settings -> Custom Domainsで確認。

GitHubのSettings -> Developer settingsのOAuth AppsでRegister a new application。


指定の情報を入力してRegister applicationで、Client IDとClient Secretを発行。
Homepage URLはhttps://YOUR_DOMAINAuthorization callback URLはhttps://YOUR_DOMAIN/login/callback

登録されたOAuth appの画面からClient IDとClient Secretを取得することができる。この画面上でこの連携を経由して連携されたユーザの数が表示されている。このGitHubアカウント以外のGitHubアカウントも連携することができる。

連携時の認可画面で表示するアイコンを設定することができる。


Client IDとClient SecretをAuth0に登録する
Client IDとClient Secretを設定していない場合、!が表示されている。
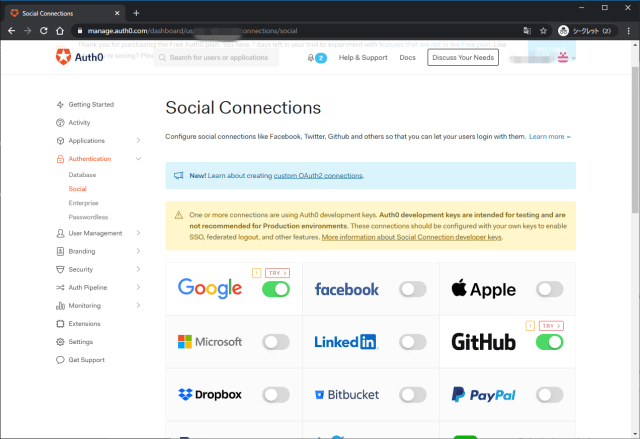
Client IDとClient Secretを設定し、追加でpublic_repoを連携する。

!が表示されなくなる。
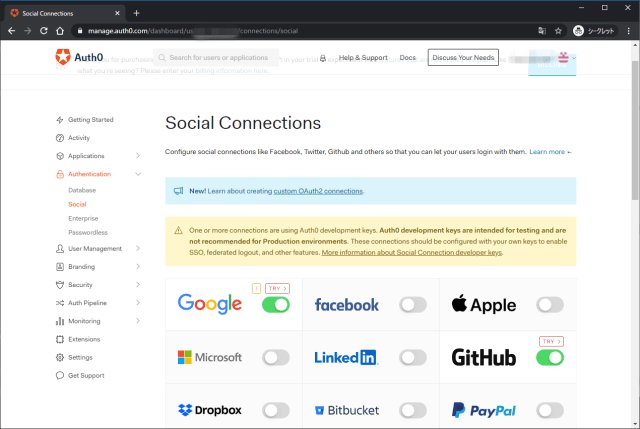
ソーシャルログインのテスト3
Default Appから再度ログインする。一度ログイン済のため、ログイン画面は表示されず、先ほど追加したpublic_repoを含めた認可の画面が表示される。Auth0のアイコンはGitHubで設定したアイコンに変わっている。
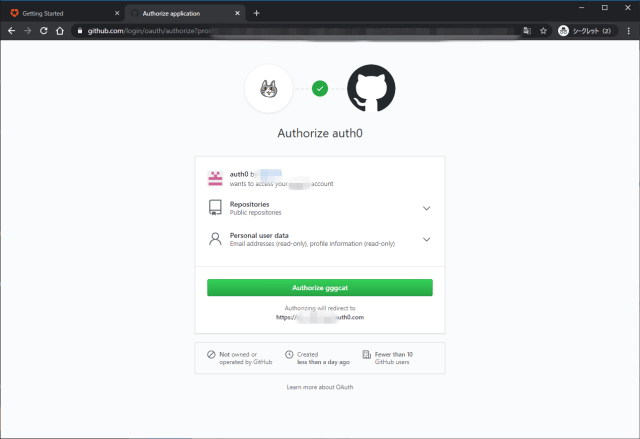
認可後は同じ。
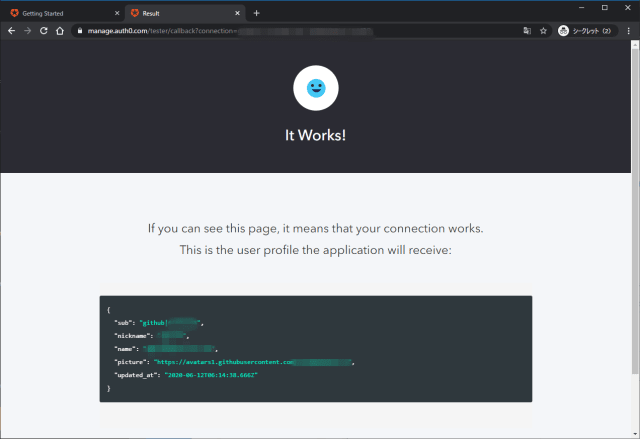
ソーシャルログインのテスト4
testappからログインする。
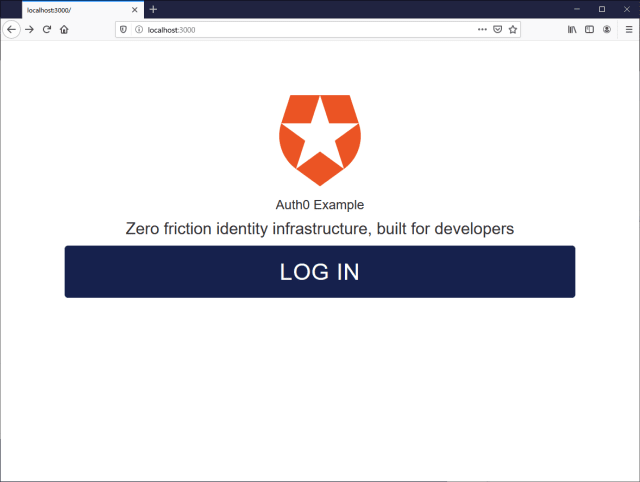
こんどは新しいGitHubアカウントでログインする。
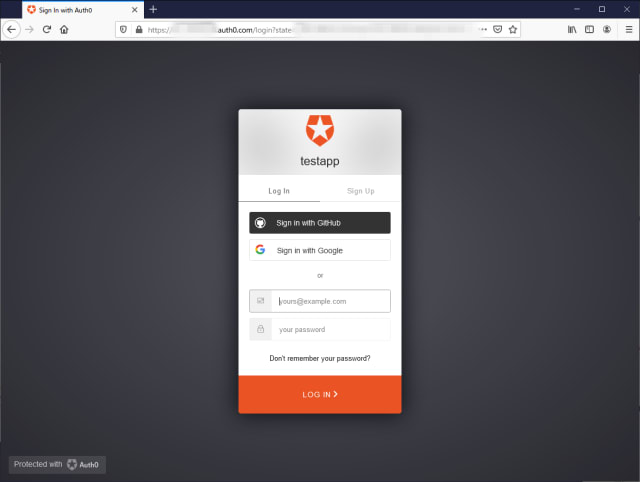
設定したアイコンが表示されている。
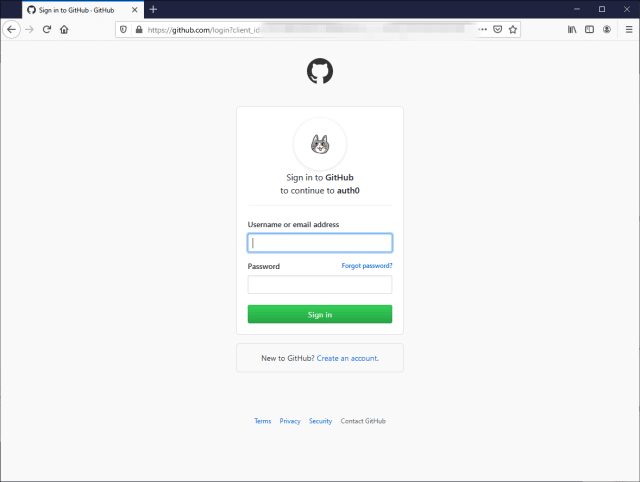
GitHubで認証すると、Auth0に対する認可画面が表示される。
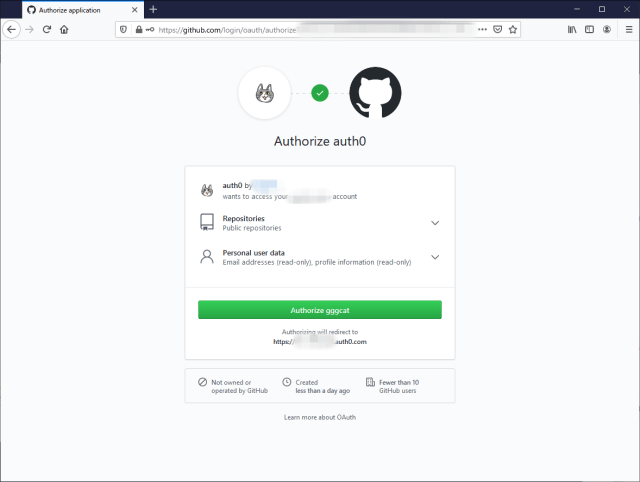
アプリに対する認可の画面が表示される。
新しいアカウントでログインしたため2アカウントが表示されている。


