GitHubチュートリアル
GitHub Guides
GitHub公式のチュートリアル。シンプルにまとまっている。
Hello World (ブランチ作成~Pull Request~Merge)
Web UIを使ったブランチ作成 ~ Pull Request ~ Merge操作。masterからBranch ofしてPull Request ~ Mergeする、簡単なGitHub flowプロセスチュートリアル。ブランチの仕組みを理解してもらうのに良いチュートリアル。
Step 1. Create a Repository
リポジトリを作成する。
Step 2. Create a Branch
リポジトリの画面でbranch: masterからSwitch branch/tagsを選択して、readme-editsをいれてCreate branchをクリックして作成。
- デフォルトでは、
masterがあり、これがもっとも信頼できるブランチ - ブランチを使用して、
masterへコミットする前にテストを行う
Step 3. Make and commit changes
README.mdを画面上から修正。Commitコメントなども記入。Commit先がreadme-editsになっていることを確認したうえで、Commit change。
Step 4. Open a Pull Request
pull requestsタブでNew pull request。base: master←compare: readme-editsにするとAble to merge. These branches can be automatically merged.が表示される。
併せて表示されたCreate pull requestをクリック。表示された画面で、pull requestのtitleやメッセージを記入した上で、Create pull requestをクリック。
Step 5. Merge your Pull Request
pull requestsタブでにStep4で作成したPull Requestが表示されている。
画面下部からチャットメッセージを投稿することができる。
リクエストを承認するならMerge pull requestをクリックしてマージする。
マージした後はPull request successfully merged and closedという内容が表示されているので、Delete branchでブランチを削除する。
Forking Projects (Fork~Pull Request)
リポジトリをForkしてPull Requestまでの操作を行うチュートリアル
細かい操作の説明はないので、Git操作は知っている前提になっている。
Step1. Fork the repository
Spoon-Knifeリポジトリの右上にあるForkボタンを押してプロジェクトをフォークする。
Forking octocat/Spoon-Knifeというメッセージの画面で少し待つとリポジトリのフォークが完成する。
Step2. Clone your fork
フォークしたプロジェクトをローカルにクローンする。
originをhttps://www.github.com/<your_username>/Spoon-KnifeupstreamをオリジナルのSpoon-Knifeにする。
Step3. Making a Pull Request
ローカルでindex.htmlファイルを編集してpushする。
- stage:
git addで追加する - local repository:
git commitでcommitする。 - remote repository:
git pushでpushする。
Step4. Making a Pull Request
https://www.github.com/<your_username>/Spoon-Knifeのpull requestsタブでNew pull request。
base repository: octcat/Spoon-Knife:base:master←head repository: <your_username>/Spoon-Knife:compare masterにするとAble to merge. These branches can be automatically merged.が表示される。
併せて表示されたCreate pull requestをクリック。表示された画面で、pull requestのtitleやメッセージを記入した上で、Create pull requestをクリック。
Mastering Issues
GitHub Flavored Markdownのチュートリアル。
Mastering Markdown (GitHub Flavored Markdown)
Syntax highlighting
1 | function fancyAlert(arg) { |
Task Lists
1 | - [x] @mentions, #refs, [links](), **formatting**, and <del>tags</del> supported |
- @mentions, #refs, links, formatting, and
tagssupported - list syntax required (any unordered or ordered list supported)
- this is a complete item
- this is an incomplete item
Tables
1 | First Header | Second Header |
| First Header | Second Header |
|---|---|
| Content from cell 1 | Content from cell 2 |
| Content in the first column | Content in the second column |
Getting Started with GitHub Pages
GitHub Pagesのチュートリアル。
Step1. Create Your Website
username.github.ioという名前のリポジトリを作成。usernameはGitHubのアカウント。

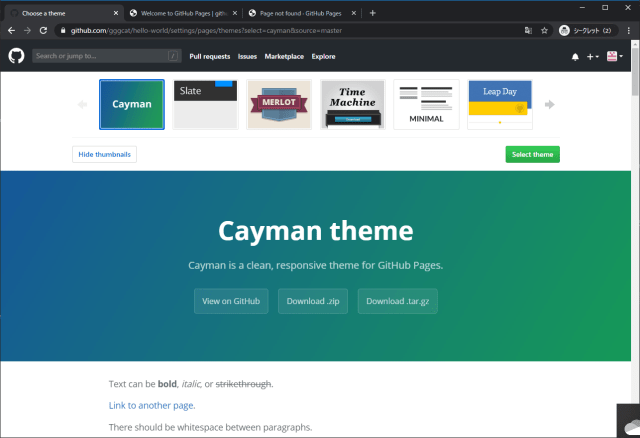
Settings -> GitHub PagesのChose themeからテーマを選択。


Jeykllで静的ページを作成するため、元になるindex.mdファイルを作成。

編集したら、Commitコメントを入れて Commit changes。

username.github.ioにアクセスするとページが表示される。

Step2. Making Changes
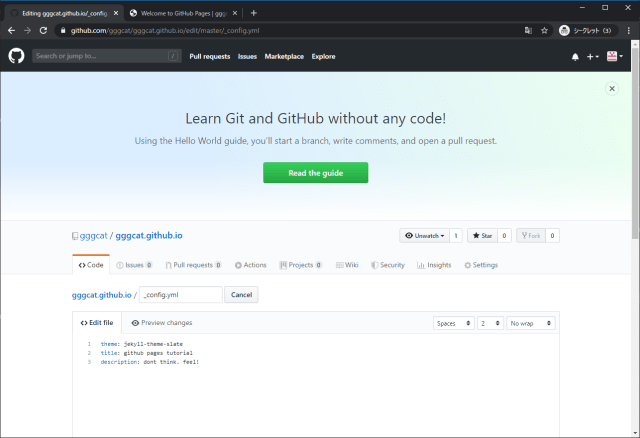
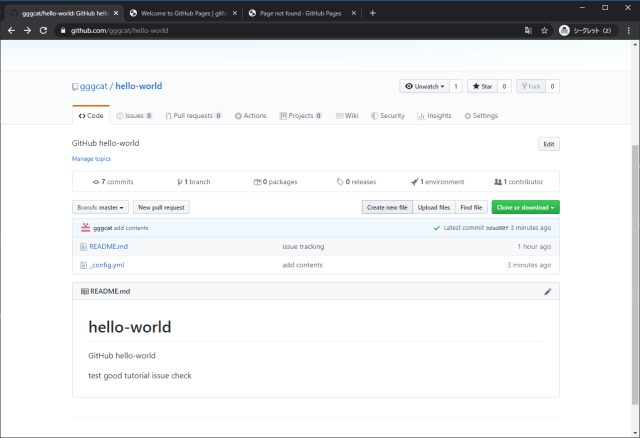
自動生成されている_config.ymlを編集してページを更新する。

テーマ選択だけが設定されている。

titleとdescriptionを追記。
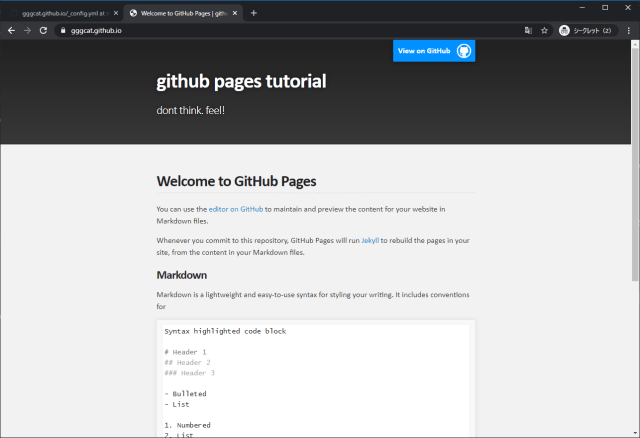
ページが更新される。
Step3. リポジトリ毎のページ
リポジトリ用のページusername.github.io/<reponame>でアクセスできる。作成方法は同じ。

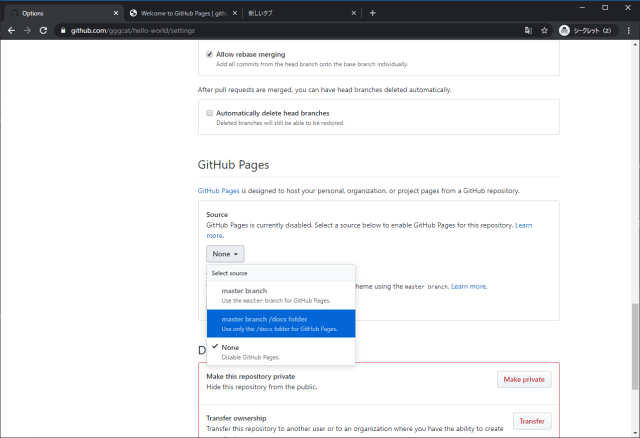
Settings -> GitHub Pagesのsourceからmaster branchを選択。

Jeykllで静的ページを作成するため、元になるindex.mdファイルを作成。

Settings -> GitHub PagesのChose themeからテーマを選択。

テーマを選択。